
- Home
- Repair Stucco From the Inside Out
Repair Stucco From the Inside Out
A stucco wall is a stack of layers, and a repair only lasts when every layer is put back. We open the damaged area to sound material and rebuild sheathing, weather barrier, lath, base coats and finish in the right order.
- Cut back to sound stucco
- Lath & barrier rebuilt
- Three coats, properly cured
- Residential & commercial

Request a consultation & estimate
Residential or commercial. We’ll get back to you to set up an evaluation.
We never share your information. Prefer to talk? Call (888) 592-1304.
What a real repair puts back
Most failed repairs we open up have the same story. Someone filled the damaged spot with a bagged patch, troweled it flush and painted it. There was no lath behind it, no weather barrier lapped into the old one and no bond to the edges, so the patch cracked around its perimeter and let water straight in.
A repair that holds rebuilds the wall the way it was meant to be built. Edges are saw-cut square so the new work has a clean joint to key into. Wet or rotted sheathing is replaced. New weather-resistive barrier is slipped under the existing paper above and lapped over it below, so water still runs out of the wall. Metal lath is fastened into framing and overlapped onto the surrounding lath. Then the scratch coat, brown coat and finish coat go on one at a time, each allowed to cure before the next.
The same discipline applies on a house in Cherokee County or a retail building in Midtown. For the cracks that often start this work, see fixing stucco cracks; for how the base coats are built, see stucco base coat.
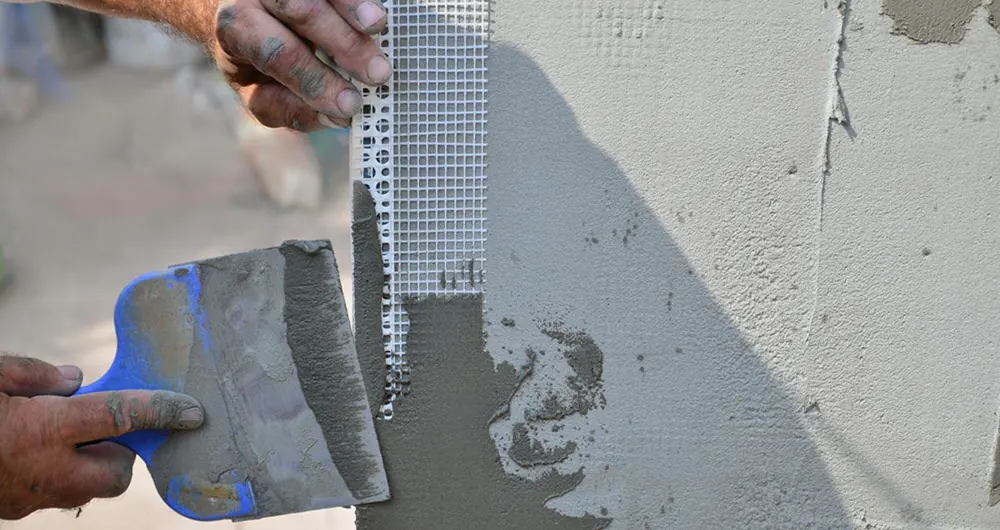
The six layers of a proper repair
Skip any one of these and the repair becomes the weak spot in the wall.
Square-cut edges
We saw-cut the opening back to stucco that is dry and firmly attached, leaving straight edges the new coats can lock into.
Sheathing
Soft, stained or delaminated plywood and OSB comes out and is replaced, with framing checked for rot while it is exposed.
Weather barrier
Two layers of barrier paper are woven into the existing layers shingle-style so water keeps draining down and out.
Metal lath
Galvanized lath is fastened into studs and overlapped onto the old lath so the patch and wall move as one.
Scratch & brown coats
The scratch coat is scored for grip, the brown coat is floated flat to match the wall plane, and both are kept damp while they cure.
Finish coat
The final coat is textured by hand and tinted with custom pigment and aggregate to sit evenly with the surrounding surface.
Often paired with this work
Most wall problems involve more than one part of the envelope.
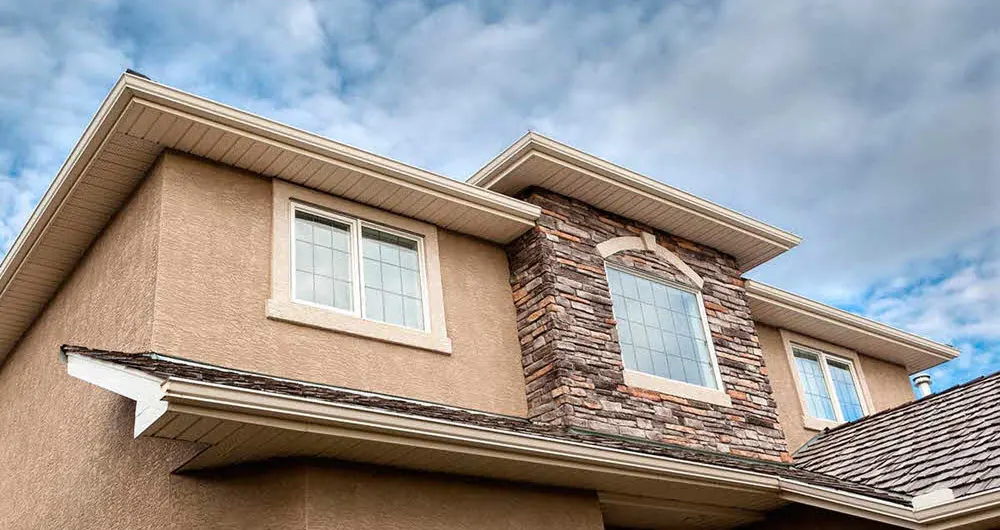
Stucco Repair
A crack or a stain is usually the visible end of a water problem.
Learn more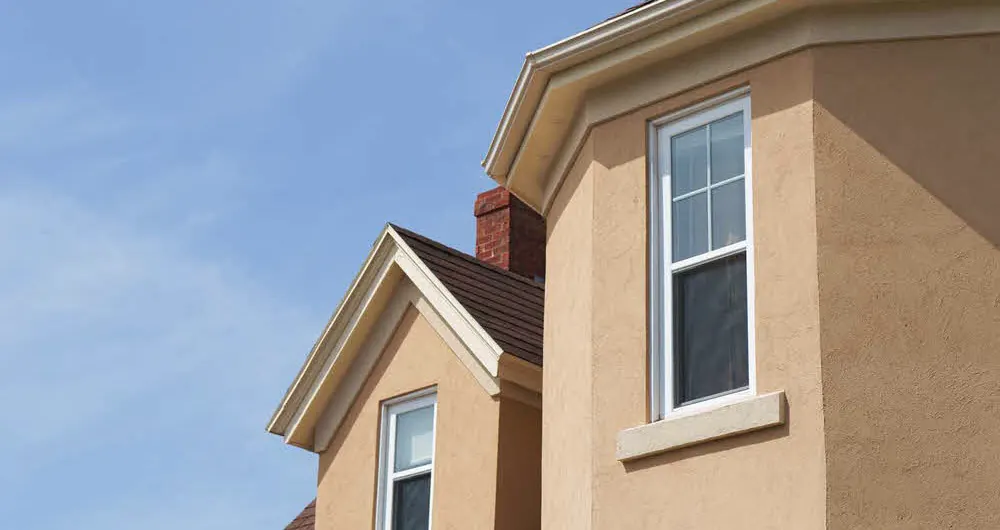
Fixing Stucco
Some stucco damage is small enough to handle with a tube and a putty knife.
Learn more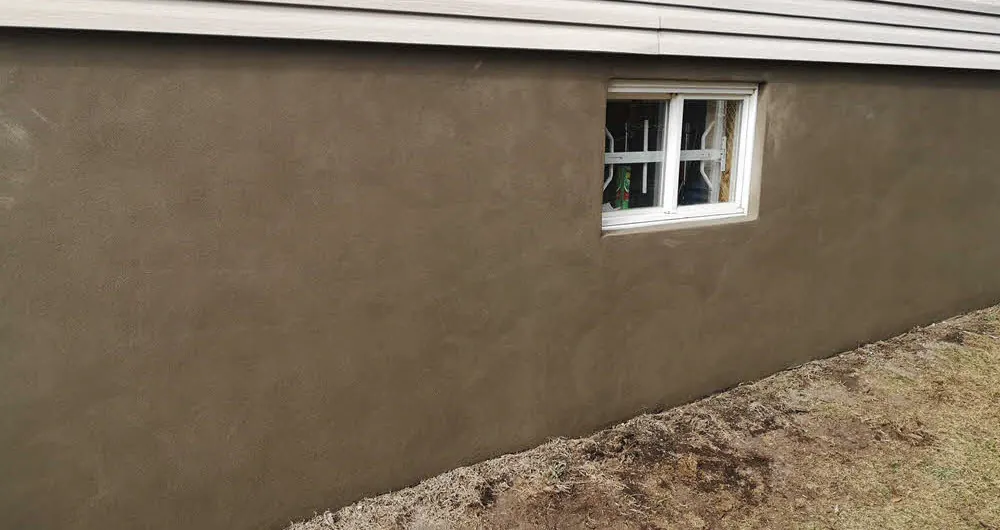
Fix Stucco Cracks
Not every crack in stucco is a problem, but the ones that are rarely fix themselves.
Learn more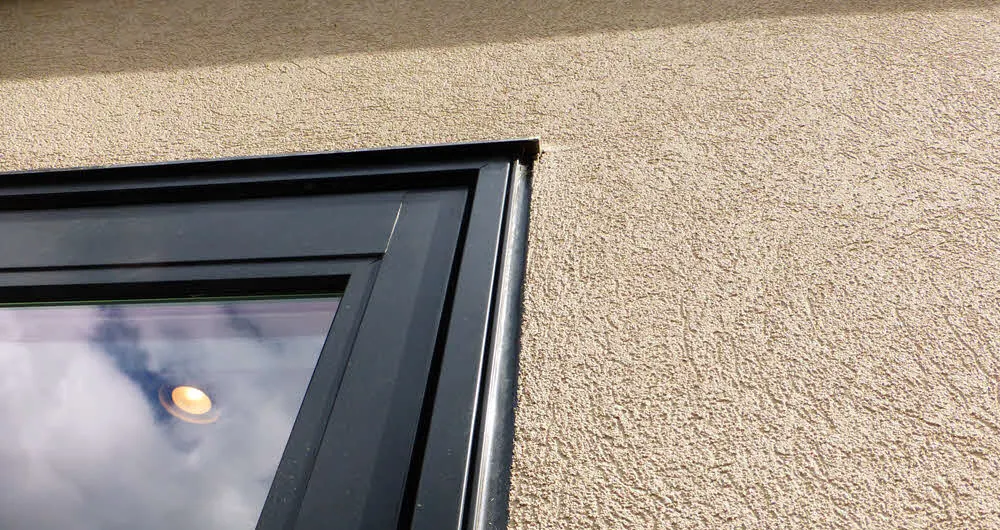
Fill Stucco Holes
Every fixture that comes off a stucco wall leaves fastener holes, a hole for wiring and often a shadow of the old outline.
Learn more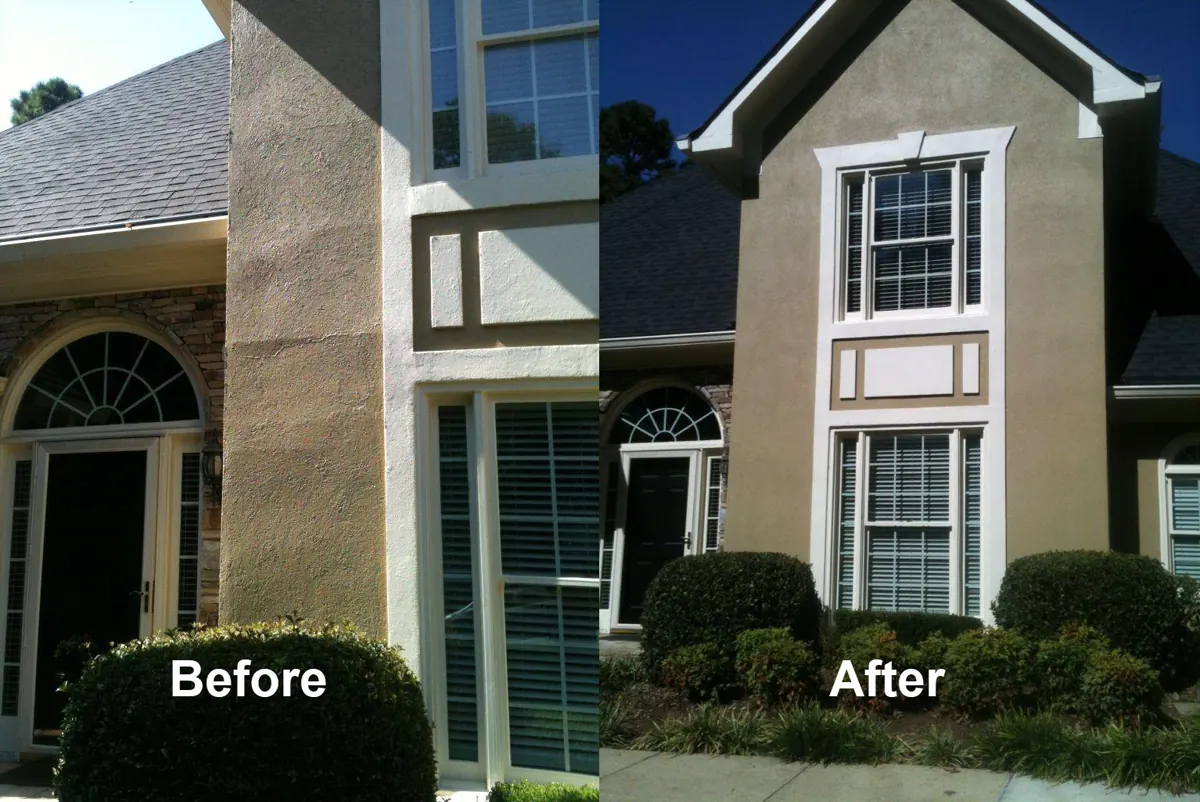
Stucco Patch
The hard part of patching stucco is not filling the damage.
Learn more
Stucco Impact Repair
Storefronts, drive-throughs, loading areas and parking-side walls take hits from vehicles, carts, hail and equipment.
Learn moreCosmetic patch vs. layered repair
From the street, the two look the same for the first few months. The difference shows after a couple of Georgia summers: the surface patch outlines itself with a hairline crack, stains around its edges and sometimes sounds hollow when tapped.
A layered repair costs more time on site because each coat has to cure. In exchange you get a section of wall that drains, flexes and weathers like the rest of the elevation. Before we start, we show you which layers we expect to replace and update you in Jobber if opening the wall reveals more.
| Item | Surface patch | Layered repair |
|---|---|---|
| Damaged substrate | Left in place | Replaced |
| Weather barrier | Missing or taped | Lapped into existing |
| Lath | Usually none | Fastened and overlapped |
| Coats | One fill coat | Scratch, brown, finish |
| Typical outcome | Edge cracks return | Weathers with the wall |
How we repair stucco, step by step
A repair is spread across several visits so each cement coat gets the cure time it needs.
Open & inspect
We probe around the damage, mark the cut line where readings return to normal and remove stucco down to the framing.
- Readings mark the cut line
- Framing checked for rot
- Cause of damage noted
Rebuild the backing
New sheathing, barrier paper, flashing where needed and lath go in, each lapped into the surrounding wall in the right direction.
- Sheathing replaced
- Paper woven into old
- Lath fastened to studs
Coat, cure & finish
Scratch and brown coats are applied and moist-cured, then the finish coat is textured and color-matched to the wall around it.
- Coats cured between visits
- Plane checked with a straightedge
- Finish blended at the edges
Inherited a wall full of old patches?
We can tell you which ones are failing and which can stay.
What our customers say
Homeowners and long-time commercial clients on working with ASR.
“Outstanding results and very professional in every aspect during the construction and painting work done. Excellent follow-up by the President to ensure satisfaction during and after the job was completed.”
“We had numerous issues with the stucco on our newly constructed home… The stucco has a unique texture and is pigmented so we were really concerned about getting a good aesthetic match on the repairs… The stucco finish looks incredible and perfectly matches the house in color and texture.”

“We had the inside and outside (Hardie Siding) of our home painted by Advanced Stucco. Additionally, they made some necessary repairs and improvements outside. Very thorough job!! We’re extremely happy with their work, professionalism and punctuality.”
Questions about repairing stucco
Answers about the method, the materials and the wait between coats.
How thick is a three-coat stucco repair?
Why does a stucco repair take several days?
Can you repair stucco without replacing the lath?
Is repairing EIFS the same process?
What does it take to start a repair?
Get a repair that rebuilds the wall
Tell us where the damage is. We will open it only as far as needed and put every layer back.
Request a consultation & estimate
Homeowners and commercial clients alike: tell us about the property and what you are seeing.
- Call(888) 592-1304
- E-mailinfo@advstucco.com
- Headquarters138 Mountain Brook Dr, Canton, GA 30115
- HoursMon–Fri 8:30 am – 5:30 pm
Send us your project details
Residential or commercial. We’ll get back to you to set up an evaluation.
We never share your information. Prefer to talk? Call (888) 592-1304.