- Home
- Dryvit Repair That Matches and Lasts
Dryvit Repair That Matches and Lasts
Repairing Dryvit and other EIFS brands comes down to two things: stopping water at the windows and edges, and making the new finish disappear into the old. We do both on homes and commercial buildings.
- Finish & texture matching
- Window leaks corrected
- Terminations rebuilt
- Drainable retrofits
Request a consultation & estimate
Residential or commercial. We’ll get back to you to set up an evaluation.
We never share your information. Prefer to talk? Call (888) 592-1304.
Most Dryvit damage begins at an edge
On older Dryvit walls, the field of the wall is rarely the problem. Damage concentrates where the system stops or meets something else: window corners, door thresholds, roof-to-wall intersections, deck ledgers, light fixtures and the bottom edge near grade. Those spots depend on sealant and flashing, and when either fails, water reaches the sheathing with nowhere to drain.
So a Dryvit repair is usually two jobs. The first is replacing wet foam and soft sheathing in the affected area. The second is changing the detail that let water in, for example adding a sill pan or kick-out flashing, back-wrapping an exposed foam edge, or cutting the system up off the ground so it can dry.
Then comes the part owners notice: the patch has to look like the wall around it. We match aggregate size and trowel pattern by hand and blend color with custom pigment, so the repair does not read as a square on the facade. You can compare this with our general EIFS repair page, or read about kick-out flashing installation and stucco flashing.
Where we find Dryvit leaks
These are the locations we probe first, because they account for most of the wet sheathing we replace.
Window corners
Water runs off the sill ends and into the wall below, often without any sign inside the home.
Roof-to-wall corners
Without a kick-out, roof runoff pours behind the EIFS where a lower roof meets a wall.
Bottom terminations
Foam run down to soil, mulch or paving wicks water up and hides insect activity.
Penetrations
Hose bibs, lights, vents and cable entries that were only caulked to the finish leak over time.
Decks & balconies
Ledger boards set against EIFS without flashing rot the band and sheathing behind them.
Cracked or patched areas
Old caulk and cement patches let water in along their edges and need to be replaced with EIFS materials.
Often paired with this work
Most wall problems involve more than one part of the envelope.
EIFS
EIFS looks like stucco from the street, but it is a very different wall.
Learn more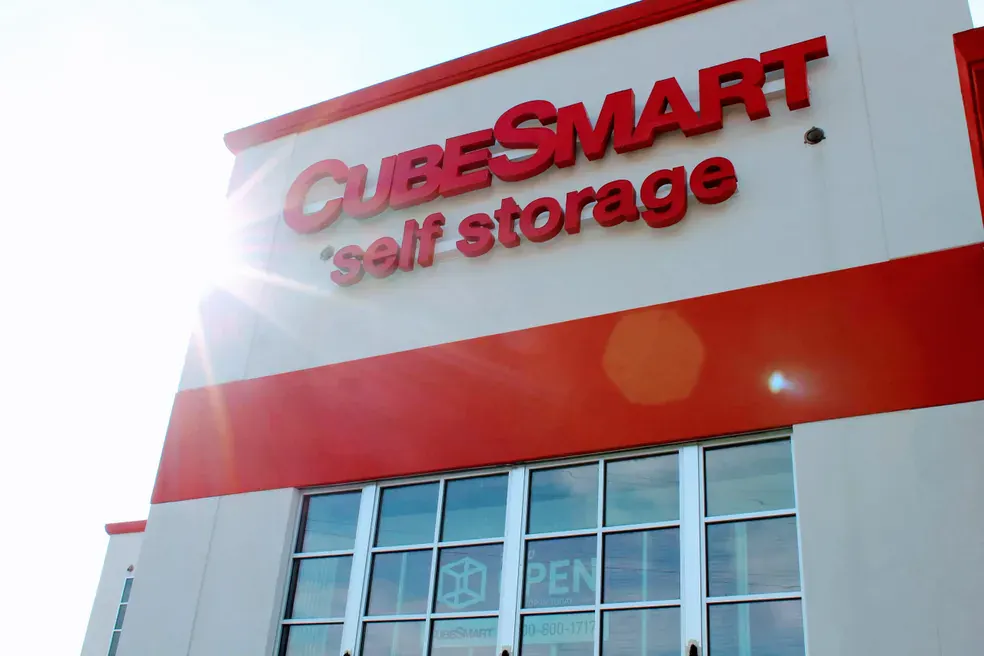
EIFS Repair
A dent in EIFS is more than cosmetic once the mesh is broken, and a dark streak below a window often means wet foam.
Learn more
EIFS Contractor
On a commercial EIFS job, the details at windows, parapets and joints decide whether the wall performs for decades or leaks in its first winter.
Learn more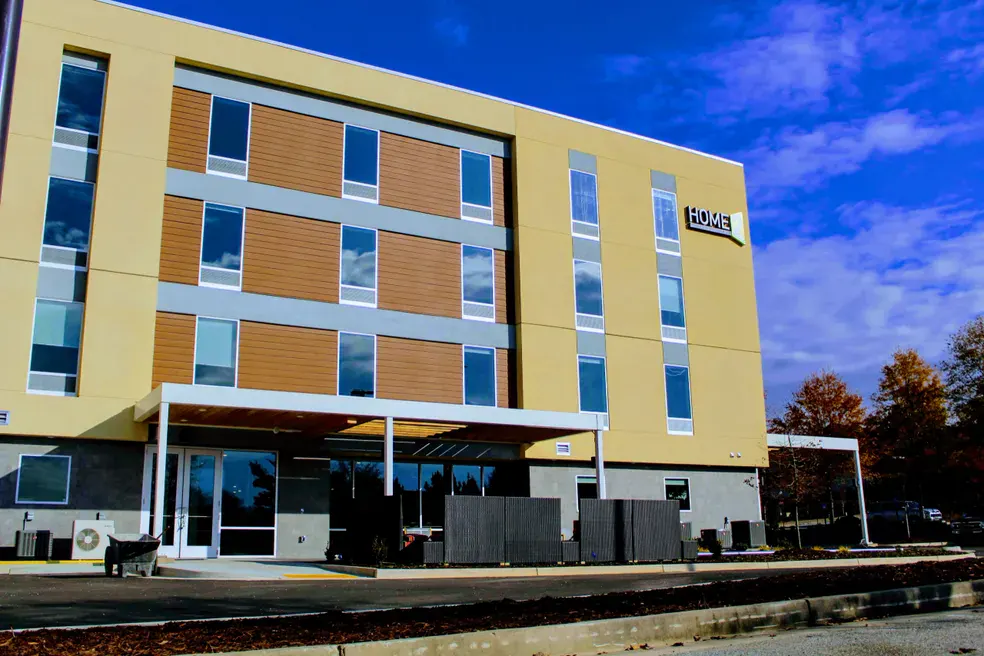
Exterior Insulation & Finish System
An Exterior Insulation and Finish System is cladding, insulation and drainage in one assembly.
Learn more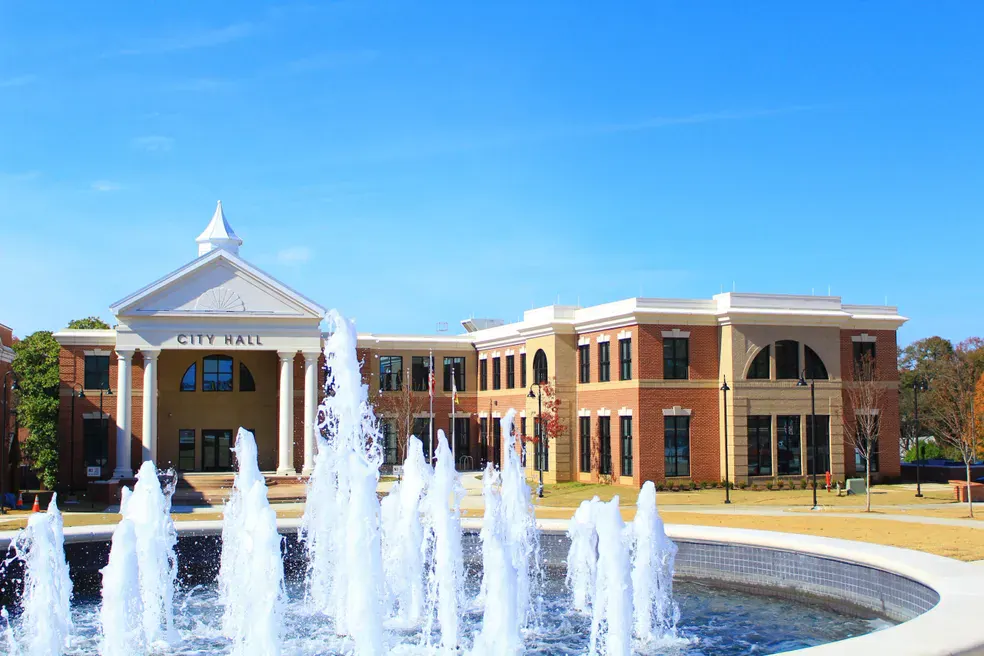
EIFS Finish System
The finish coat is the part of EIFS everyone sees and the part the sun works on every day.
Learn more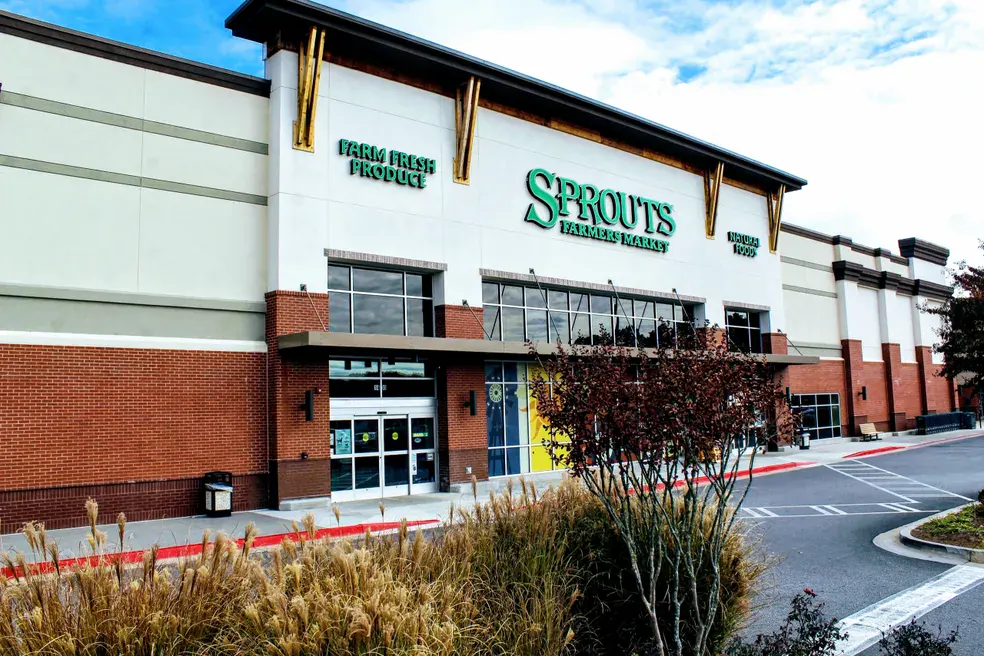
Dryvit
Many people call any foam-backed stucco "Dryvit," the way tissues get called by one brand name.
Learn moreSpot repairs vs a drainable retrofit
When moisture is confined to a few openings and the rest of the wall reads dry, targeted repairs and improved details are the sensible choice. When probing shows damage at most windows on an elevation, or the same areas keep coming back, converting that elevation to a drainable system can be the better long-term investment.
A retrofit removes the old EIFS, repairs the sheathing, adds a water-resistive barrier and drainage path, re-flashes the openings and installs new foam, base coat and finish. We lay out both paths with readings and photos so you can decide with real information.
| Finding | Approach | Outcome |
|---|---|---|
| One or two wet openings | Targeted repair | Original wall kept |
| Faded but dry wall | Repair and recoat | Uniform appearance |
| Wet at many openings | Elevation retrofit | Drainable elevation |
| Widespread rot | Full re-clad | New drainable system |
How we repair Dryvit
We keep you informed with photos at each stage, especially once the wall is open.
Probe & plan
Moisture readings at openings and terminations show where the damage is, and a written scope sets the repair areas.
- Readings mapped
- Leak details noted
- Scope approved in Jobber
Open & correct
Wet material comes out to dry sheathing, damaged sheathing is replaced and the faulty flashing or termination is rebuilt.
- Sheathing replaced
- Flashing corrected
- Edges back-wrapped
Rebuild & blend
New board, base coat and lapped mesh go in, then finish is matched in texture and color and joints are resealed.
- Mesh lapped past patch
- Finish blended by hand
- Joints sealed properly
Staining under a window?
Have the corners probed before the damage spreads into framing.
What our customers say
Homeowners and long-time commercial clients on working with ASR.
“We had numerous issues with the stucco on our newly constructed home… The stucco has a unique texture and is pigmented so we were really concerned about getting a good aesthetic match on the repairs… The stucco finish looks incredible and perfectly matches the house in color and texture.”

“We had the inside and outside (Hardie Siding) of our home painted by Advanced Stucco. Additionally, they made some necessary repairs and improvements outside. Very thorough job!! We’re extremely happy with their work, professionalism and punctuality.”
“Willy came today at precisely 8 o’clock and did an outstanding job on everything! I am more than satisfied and will look forward to calling in your company’s service again.”
Dryvit repair questions
Common questions from homeowners and commercial owners.
Can you repair Dryvit if you are not a Dryvit company?
Will my Dryvit repair be visible?
Is it worth repairing old Dryvit or should I replace it?
How long does a Dryvit repair take?
Do you repair Dryvit on commercial buildings?
Get your Dryvit walls checked
Send a few details or photos. We will probe the problem areas and give you a written repair scope and quote.
Request a consultation & estimate
Homeowners and commercial clients alike: tell us about the property and what you are seeing.
- Call(888) 592-1304
- E-mailinfo@advstucco.com
- Headquarters138 Mountain Brook Dr, Canton, GA 30115
- HoursMon–Fri 8:30 am – 5:30 pm
Send us your project details
Residential or commercial. We’ll get back to you to set up an evaluation.
We never share your information. Prefer to talk? Call (888) 592-1304.